Posts Tagged ‘hardware’

Hi! I am Lisa from The Dilletante Proprietor

I just love Girl’s Gone Trashy and am a regular lurker over here so I was absolutely thrilled that I was asked to do a guest post!

I asked myself at least 50 times what was the most important and the most expensive obstacle to “farming”…”homesteading”… when you already have your property?

FENCING!

Fencing was the single most important thing to me when I wanted a garden and to start off raising my own food… but couldn’t afford it…

I only have ½ an acre to fence…but when it comes down to it? I can’t afford 25ft of what it would take to fence this property…

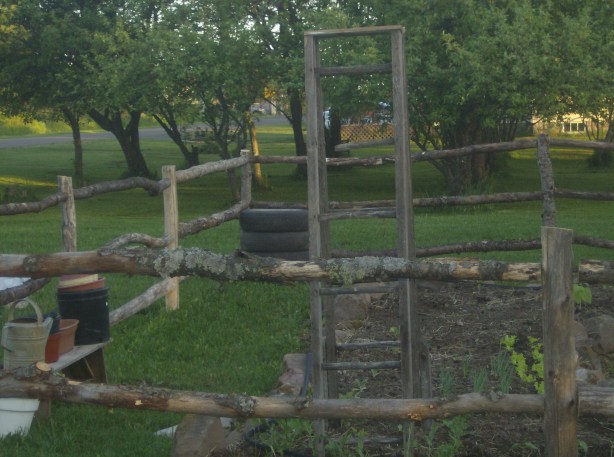
The solution? I used recycled cedar “posts” from a torn down building and $2.00 landscape timbers…the timbers are 4×4 treated lumber… they are not exactly 4×4 as they are round on one side and flat on the other but they make awesome posts!

fence 1

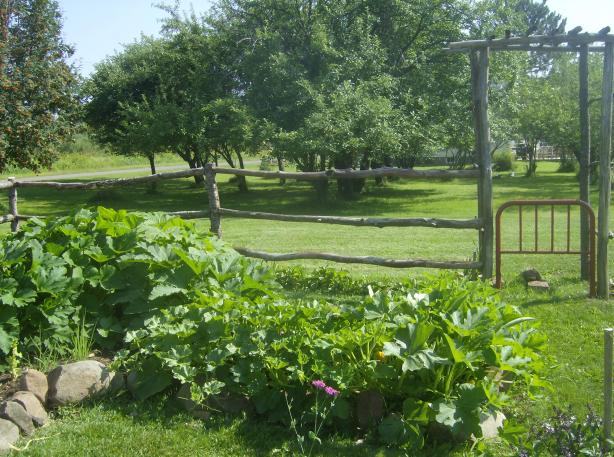
For rails? I asked permission to walk through the woods at several places and gather fence “poles”…the ones that were already on the ground…I did glean some posts there also…

To attach the rails to the posts…I drilled a 1 inch hole in the end of my rail…pounded another 2 inch piece of re-bar into that hole and then drilled another hole into my post…it is just like a dowel rod.

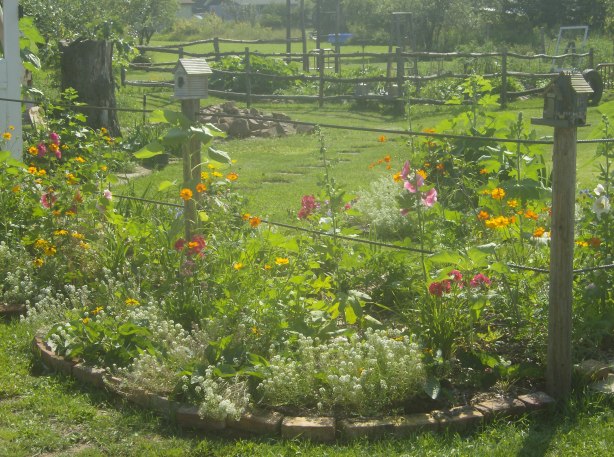
This fence is surprisingly strong…you can sit on it…although I only use it to fence in my garden… I bet it would be hardy enough to keep a cow in or a horse and with closer placement of the poles? Maybe a goat or a hog…well, maybe not a hog..I have had plenty of those in my life time and they are terrible escape artists! It has already been through to Northern winters with 7 feet of snow sitting on it and no sign of damage… It is actually very nice looking too…for a free fence!

fence 2

fence 3

I am working on a really great project from a huge shipping crate I got next to a college dumpster. Its not finished yet so that project will be next Wednesdays post. Until then I will share some of my favorite links of some very awesome trasy ladies! Check them out and see all the fantastic things they make from other peoples trash and be sure and tell them Peggy sent you.

Gail from Repurposed Life has lots and lots of projects from trash finds. You can spend days just drooling over her archives. Go on check it out but be sure and save time to visit Rose over at Confessions of a Curbshopaholic. She has a post up right now about her dogs but please scroll on down and see the most unique and beautiful things she makes from trash. She loves to travel around the neighborhood and pick up things people put by the curb. I have gotten lots of ideas from her and spend hours just going through her archives and dreaming and making notes. These two ladies make me want to become even more trashy than I already am! So please check them out and have a look see. I promise you won’t be disappointed and I bet you come away with some new projects you just can’t wait to get started on yourself.

The Hanging box

Posted: April 25, 2011 by emphelan in Around the Homestead
Tags: , , ,

Here is a tip for you, contractors will throw out privacy fencing material if it is flawed, crack or just plain unpleasant. The ones that are cracked, as long as it isn’t more than half way up, can be used for many other projects.

Now the Hanging box is wonderful for dry aging meats that hang no longer than 48 hours. Longer than that and you will need to regulate the temperature better.

Hanging Box

Right now it holds four 20lbs turkeys easily. Later hooks will be added to hang smaller animals, as well as being plumed into some piping and a fire box to be used as a smoker.

Made with privacy fencing, reclaimed coat hooks, and a metal pipe.

Purposeful Jewelry: Wing nuts

Posted: April 11, 2011 by emphelan in Crafts, Gifts, Kids, wearables
Tags: ,

What you need is

16 gauge wire (hot fencing works great)
several wing nuts (depending on size and how big the wrist is)
wire cutters
needle nose pliers
screw driver (Phillips)

I seem to have lost my photos on how to make the rings. If you wire is dirty, use a metal cleaner (lemon juice works sometimes) and clean it up all shinny like. Next start wrapping it around the screwdriver. As tight as possible. Once you get to the end, slide it off, you should have a very tight spring.

Next cut the spring down the middle, making lots of small rings. As most of us do not have the fancy rotatory tools, they will look a little pinched at the cuts.

Next, take a wing nut, and attach 2 rings to one side. Squeezing the rings shut with the pliers. Then add two more rings to those rings, then two more wings, and then another wing nut.

X=//=X=//=X

Something like that.

Attach clasps on either end when finished, and Viola!

wing nut braclet